unity3d assets
Dialogue system
Welcome window
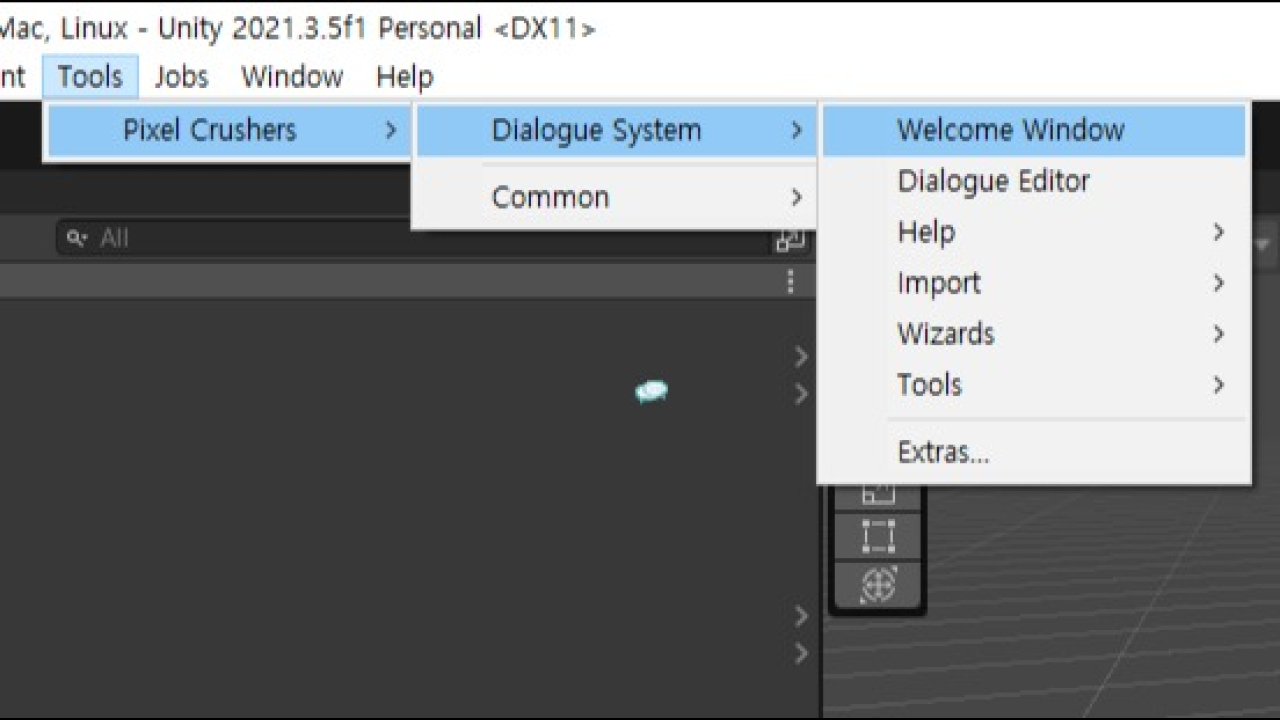
demo scene
Assets > Plugins > Pixel Crushers > Dialogue System > Demo > Scene
Dialogue Manager
Project window | Plugins > Pixel Crushers > Dialog System > Prefabs
- dialogue manager 가 있어야 동작함
- 없으면 NullException error
Dialogue database
project window | Create > Pixel Crushers > Dialog System > Dialog Database
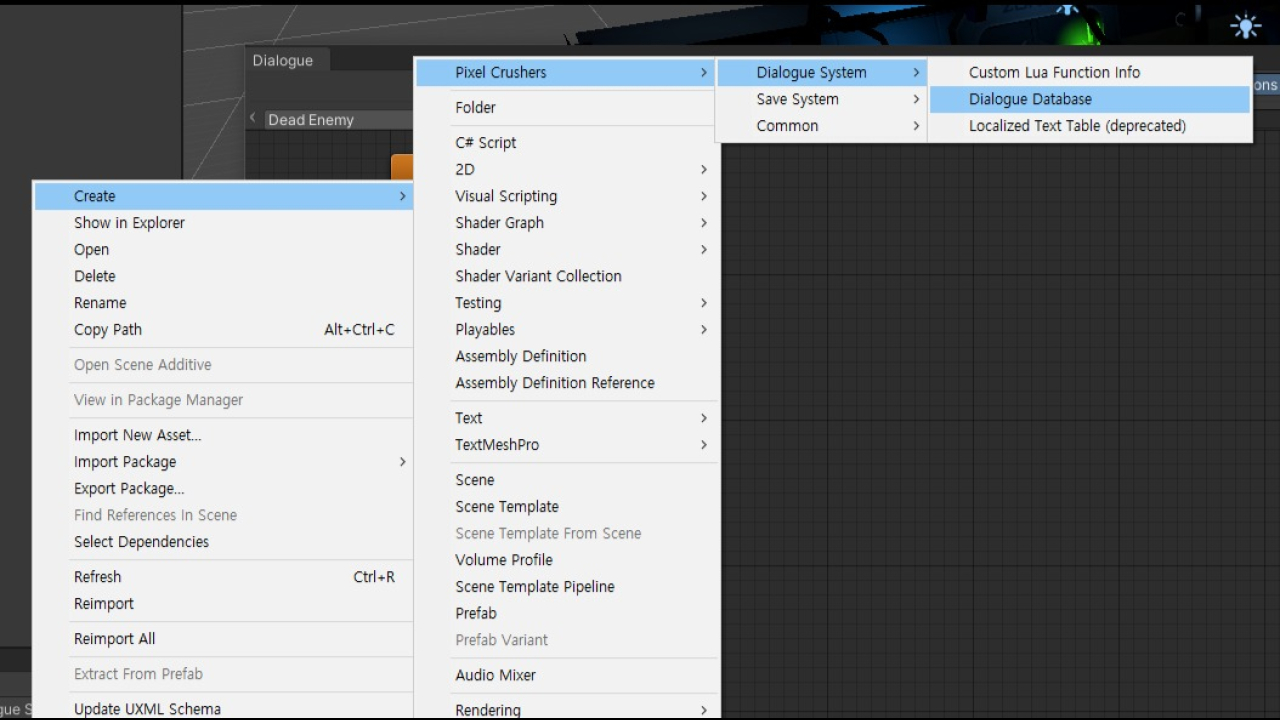
- Actors에서 등장인물 추가
- Conversations에서 대화 추가
Inspector window | Actor대화 주체Inspector window | Conversant대화 상대
시작하자마자 대화
- Dialogue System Trigger 컴퍼넌트 추가
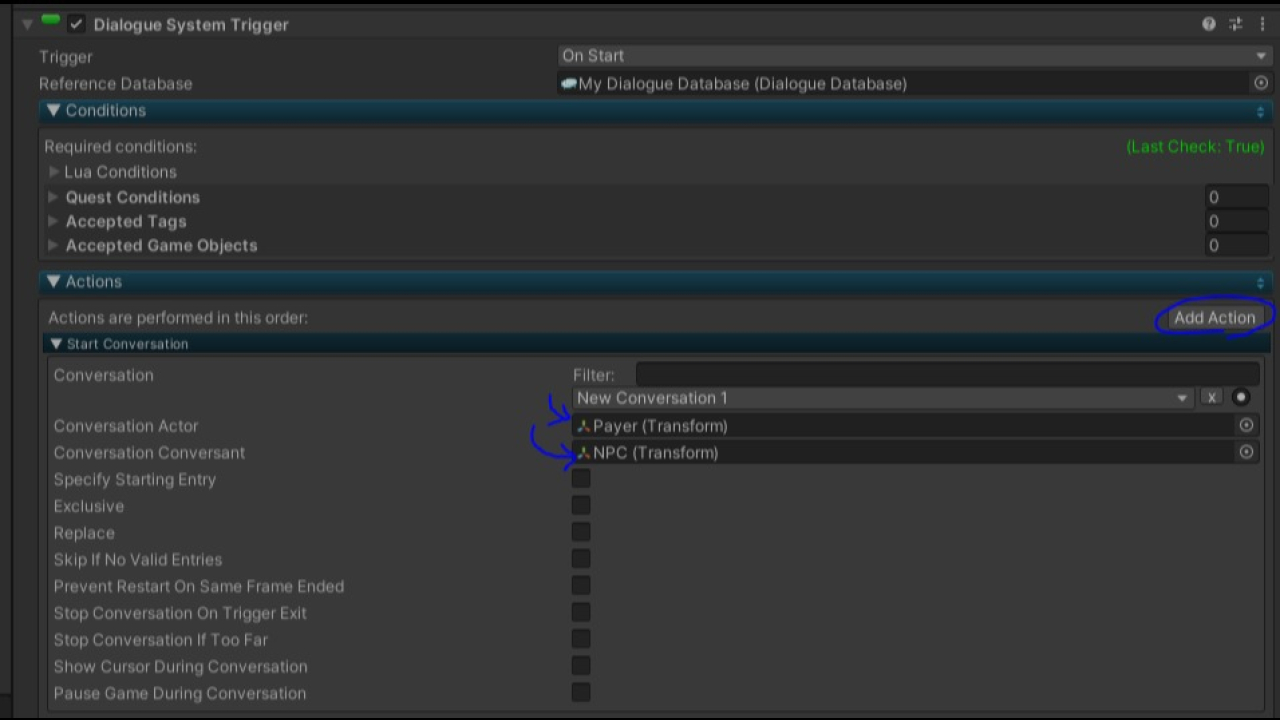
- Actor와 Conversant 추가
- Trigger - On Start : 시작하자마자 대화
랜덤 말풍선
- Dialogue Actor 컴퍼넌트 추가
Project window | assets > Plugins > Pixel Crushers > Dialogue System > Prefabs > Standard UI Prefabs > Tamplate > Bubble
- Bubble Tamplate Standerd Bark UI 사용
-
Dialogue Actor > Bark UI Settings > Bark UI에 드래그 드롭
- Bark On Idle 컴퍼넌트 추가
오디오 재생
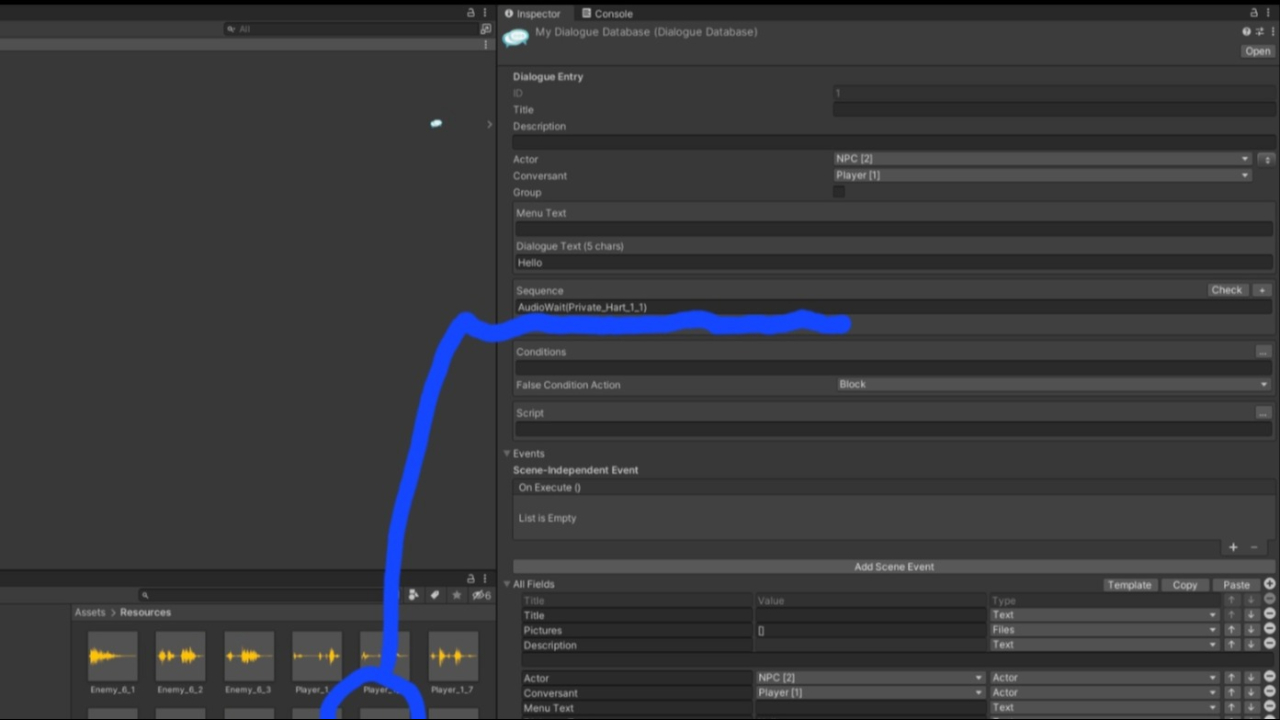
- Dialogue > conversations 에서 대화 선택
- inspector창의 Sequence 부분에 Audio Source를 드래그 드롭
- 오디오 수량이 많다거나 1:1 대응되지 않는경우 ‘동영상 튜토리얼’ 참조
Trigger, Interaction
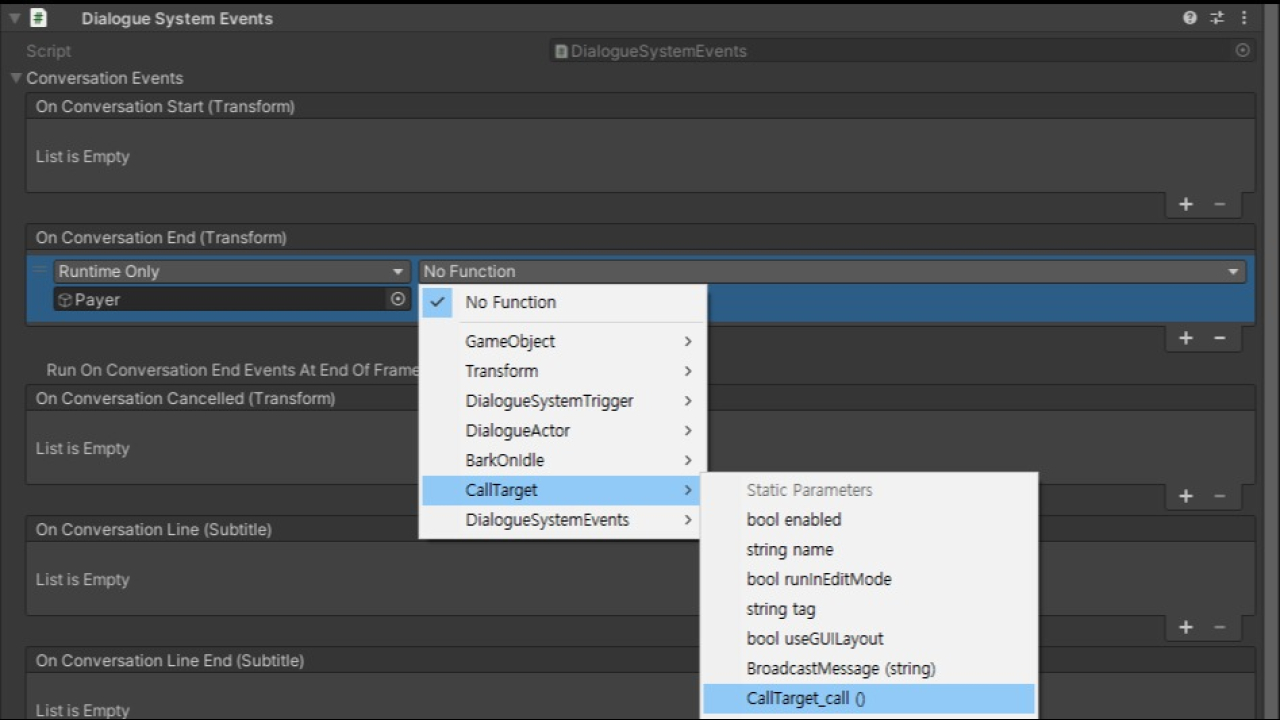
auto playing
Dialogue Manager GameObject
Display Settings > Input Settings > Always Force Response Menu - untick
Display Settings > Subtitle Settings > Show PC Subtitle During Line - tick
If the player only has one response, it will play automatically. Show PC Subtitle During Line shows the player’s response as a subtitle.
Actor text color
using UnityEngine;
using PixelCrushers.DialogueSystem;

public class ActorSubtitleColor : MonoBehaviour {
    public Color subtitleColor;

    void OnConversationLine(Subtitle subtitle) {
        if (subtitle.speakerInfo.transform == this.transform) {
            subtitle.formattedText.text = "<color=" + Tools.ToWebColor(subtitleColor) + ">" +
                subtitle.formattedText.text + "</color>";
        }
    }
}
스크립트를 대상 Actor에게 componunt로 적용하고 색상을 선택
Start conversation
using System.Collections;
using System.Collections.Generic;
using UnityEngine;
using PixelCrushers.DialogueSystem;

public class Starter : MonoBehaviour
{
    public DialogueSystemTrigger trigger;
    public Transform actor;
    public Transform conversant;

    void StartConversation()
    {
        Debug.Log("game start");
        trigger = this.gameObject.GetComponent<DialogueSystemTrigger>();
        DialogueManager.StartConversation(trigger.conversation, actor, conversant);
    }
    private void Update()
    {
        if (Input.GetKeyDown(KeyCode.T))
        {
            StartConversation();
        }
    }
}
Custom Sequence Commend
project window | Assets > Plugins > Pixel Crushers > Dialog System > templates > Scripts
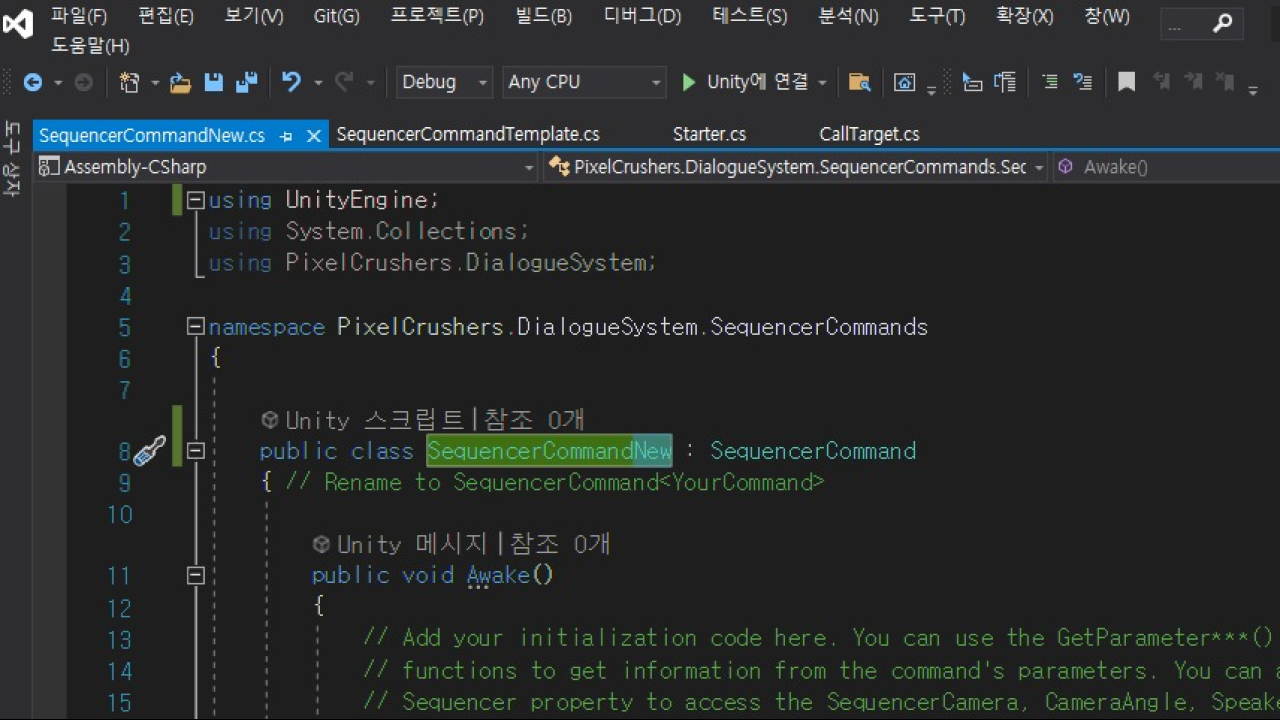
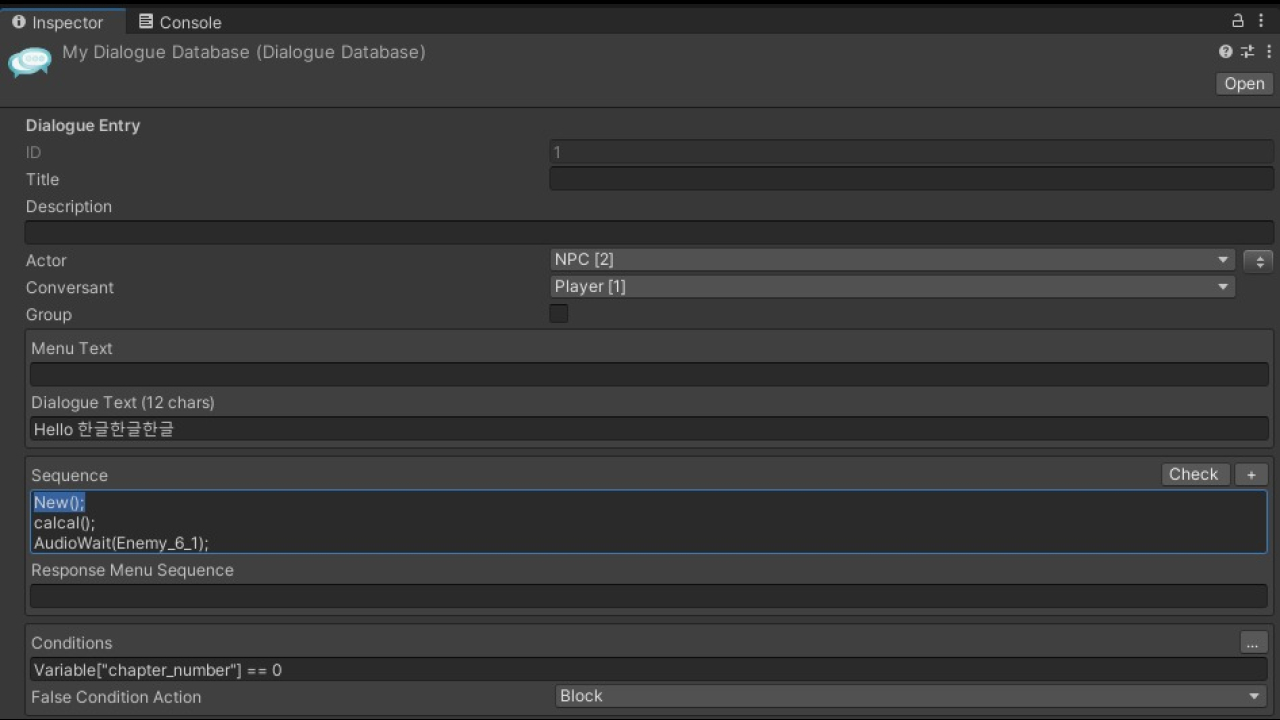
SequenceCommendTemplate.cs복사SequenceCommend새이름형식으로 클래스명 변경- Sequence에
새이름();형식으로 작성하면 작동
getValue, setValue
using PixelCrushers.DialogueSystem;

Debug.Log("variable is:" + DialogueLua.GetVariable("chapter"));
DialogueLua.SetVariable("chapter", 1);
대화내에 특정 변수 표시하기
- 자료 출처
- Variables에 변수 추가
- Dialogue Text에 [var=변수명] 입력
Dialogue
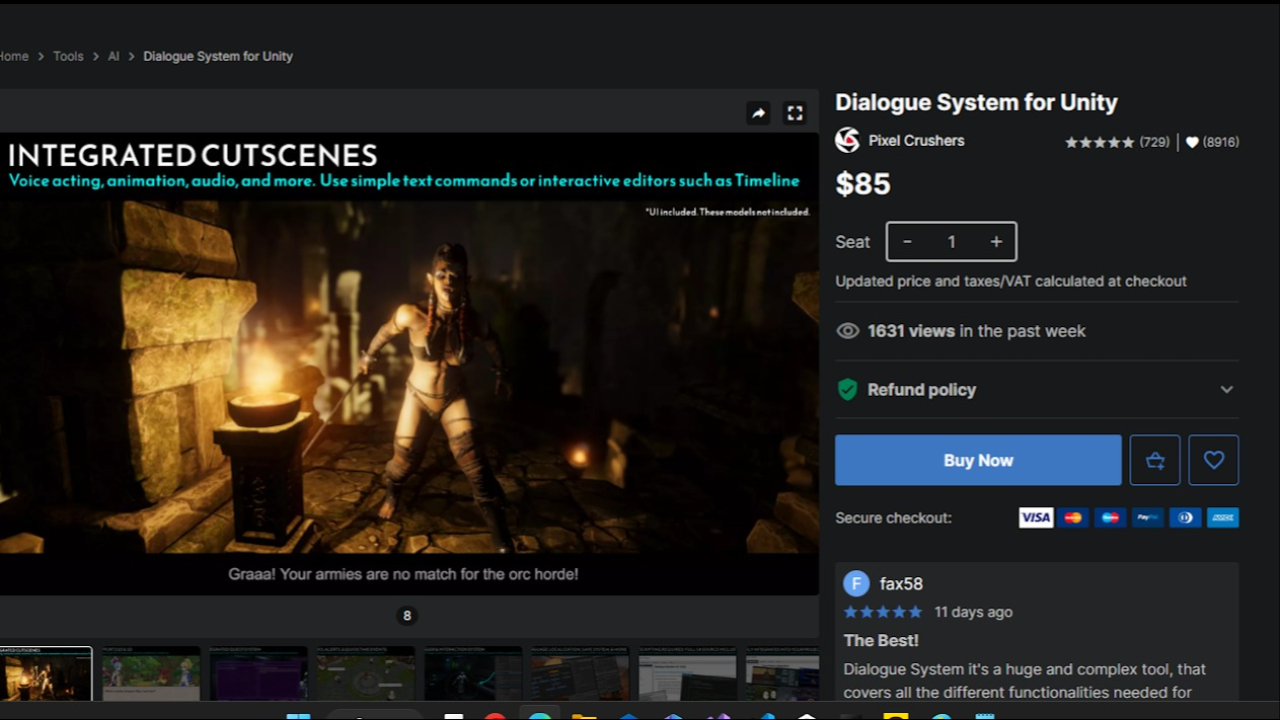
- window-asset store-Dialogue검색-Buynow 후 import
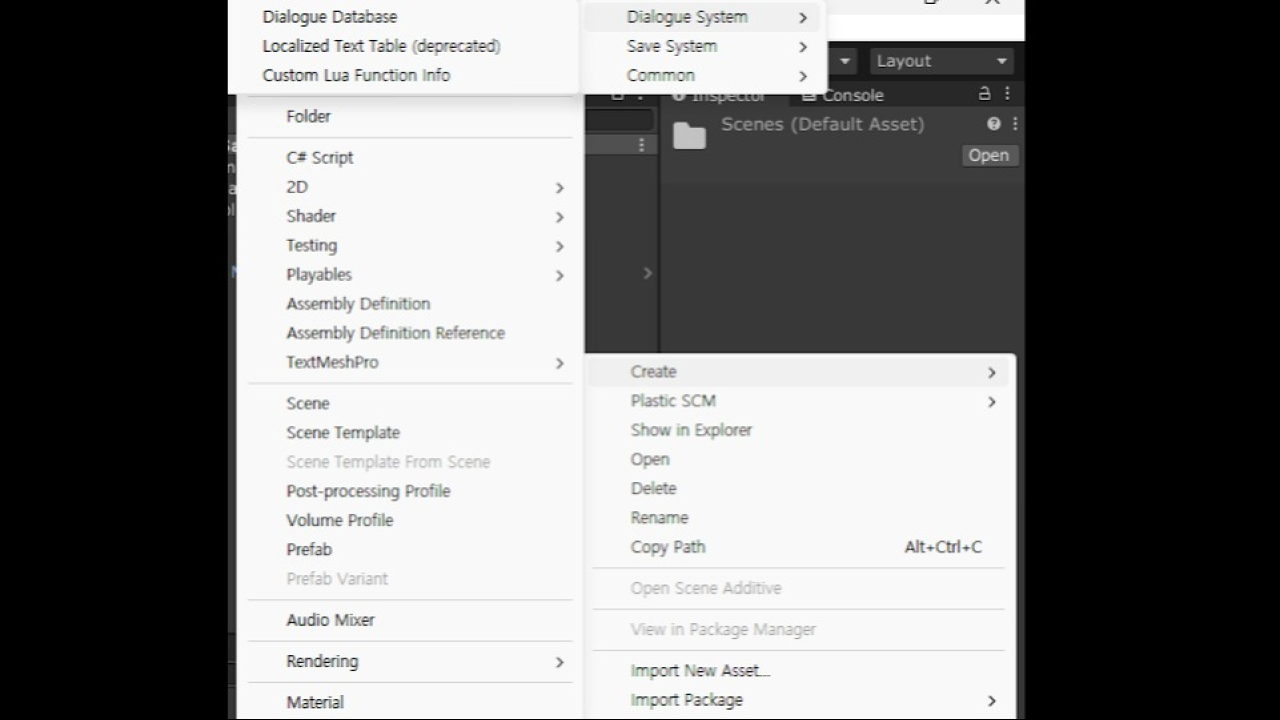
- imsport한 후 project창에 빈 곳을 오른쪽 마우스를 클릭 create 클릭 후 맨 위에 있는 pixelcrushers 클릭 후 Dialougue Syteam 클릭 후 Dialouge Database클릭
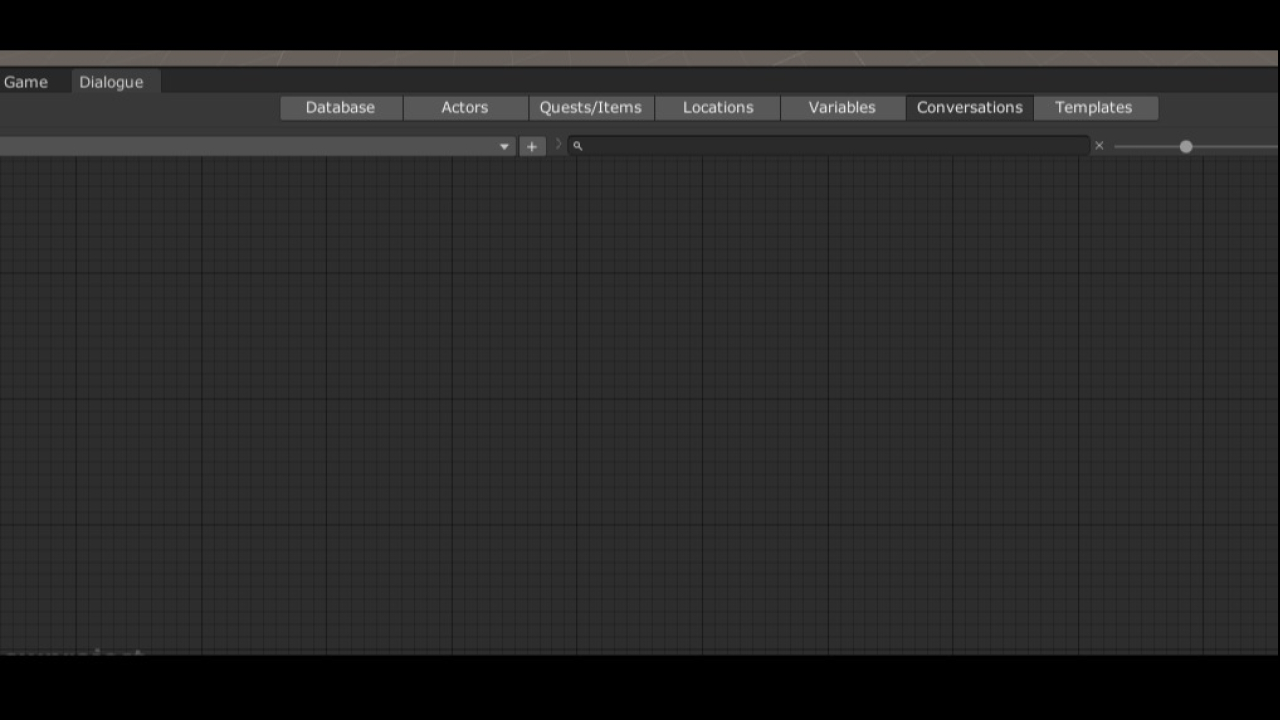
- 만든 Dialouge Database를 더블클릭 후 Dialouge창을 game에 옮기고 Conversations 선택
- (+) 버튼을 눌러 New Conversation 1를 생성
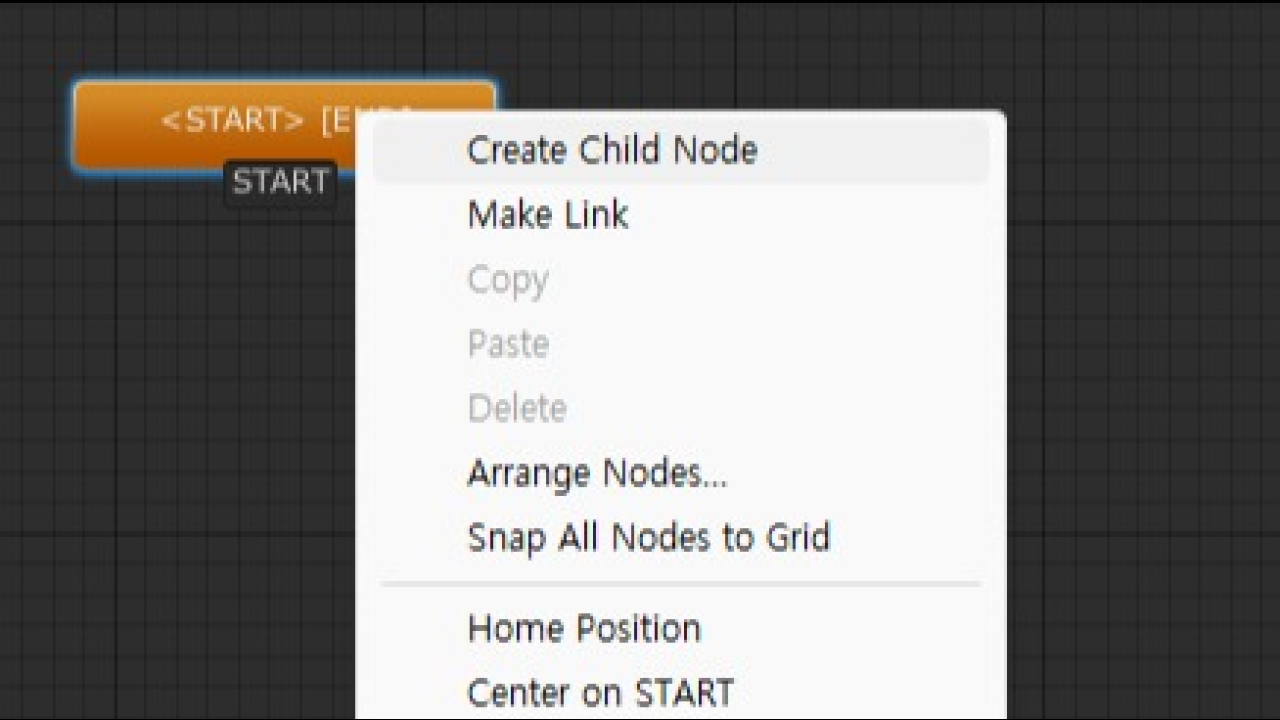
- start 오른쪽 마우스 클릭 후 Create Child Node 클릭 node 생성
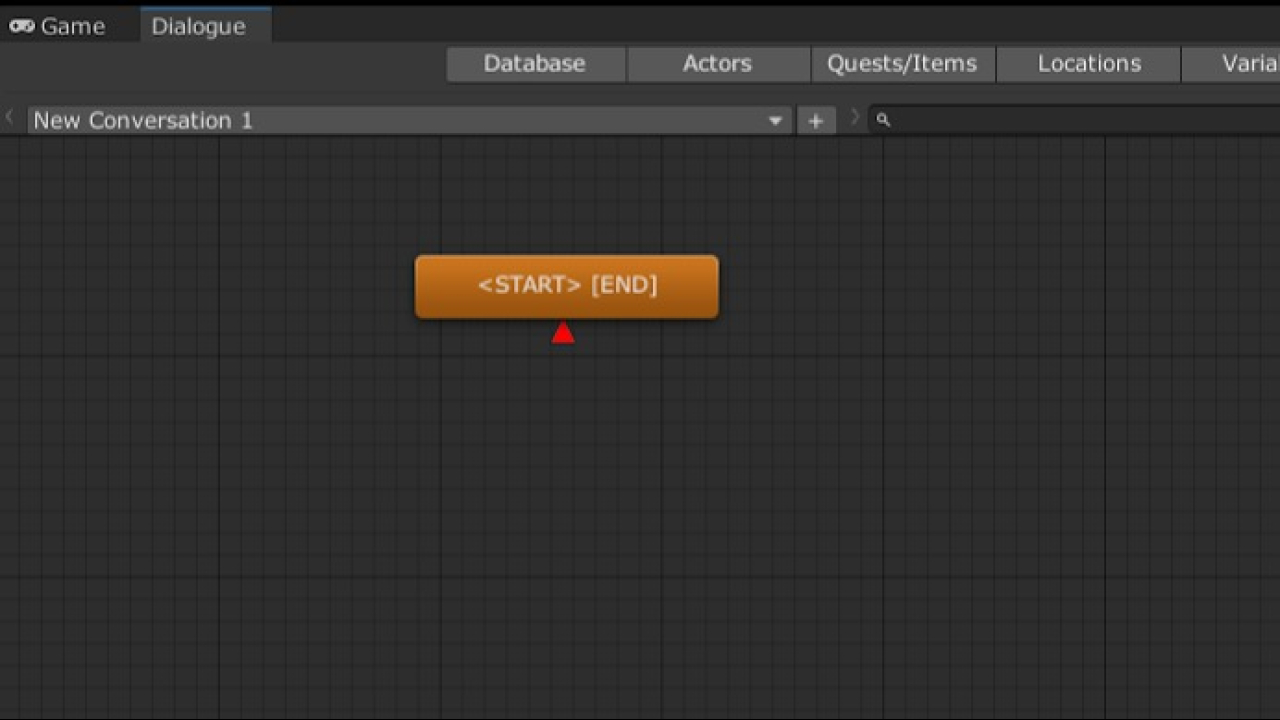
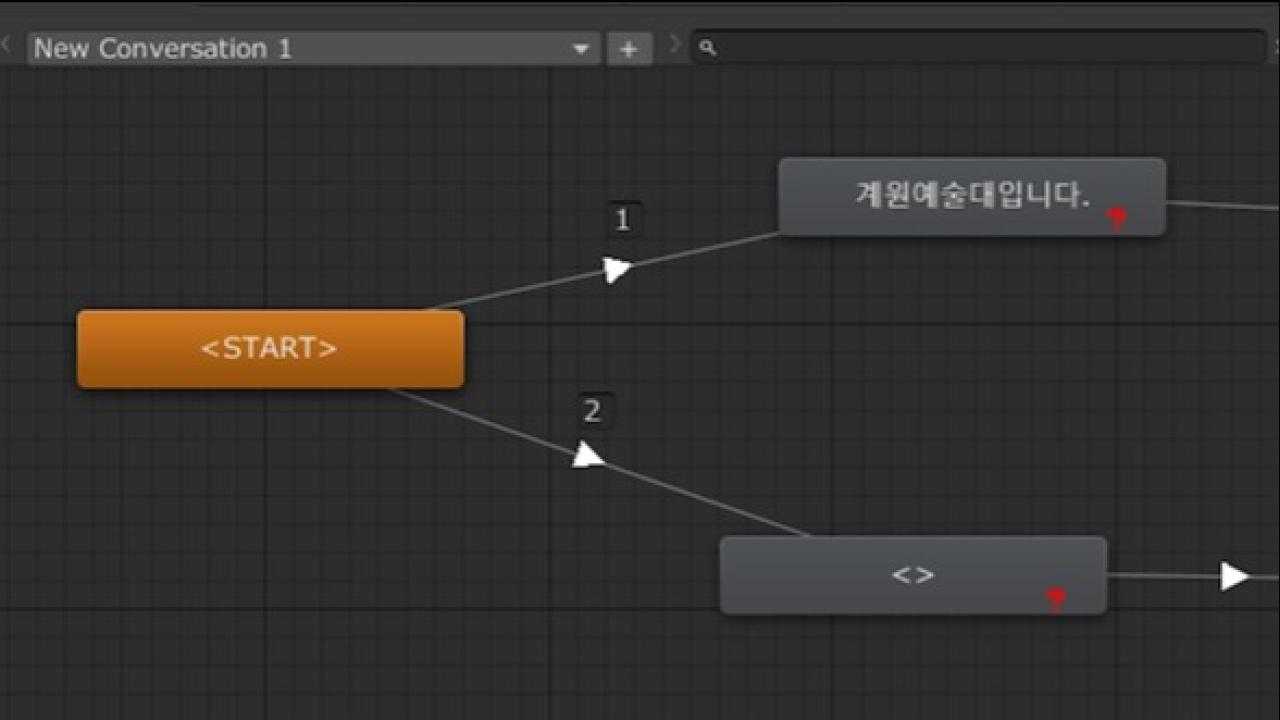
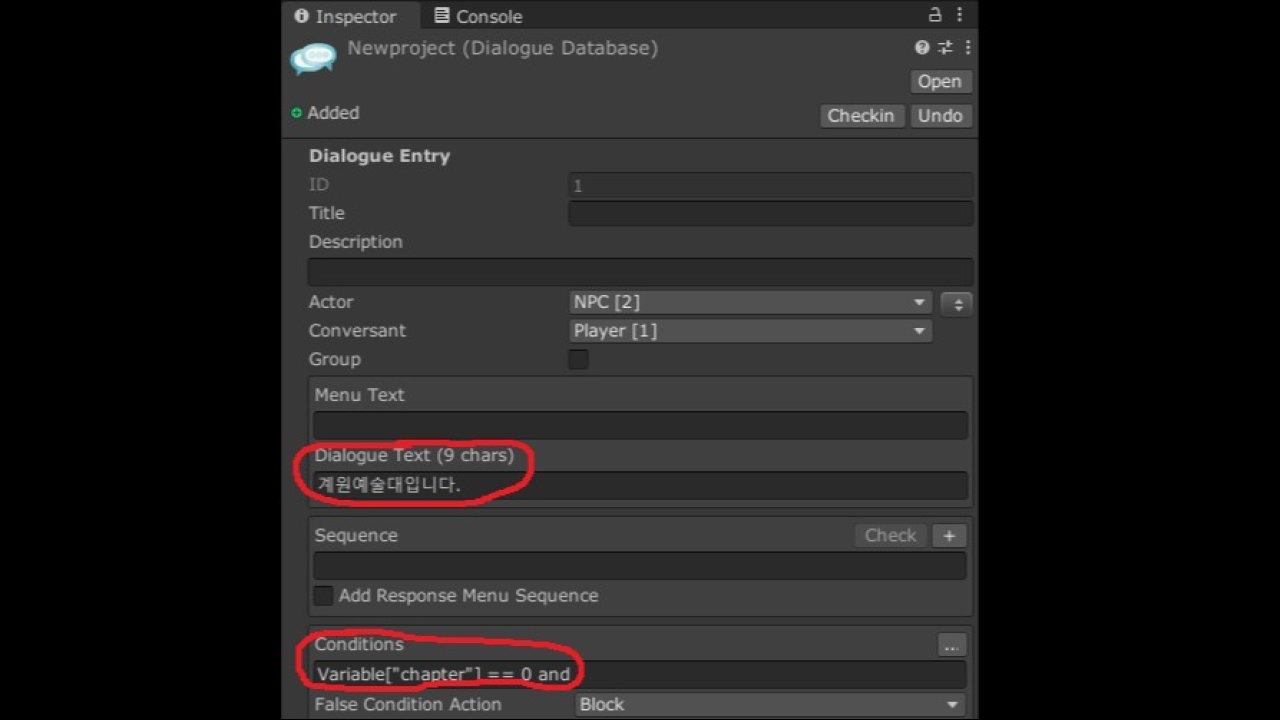
- Dialouge Text 입력 후 conditons에는 순서를 넣을 것
- conditons에서는 Variable[“chapter”] == 0 and 기입
- < start>를 시작 기점으로 변수 숫자는 0부터 시작해 0부터 넣을 것
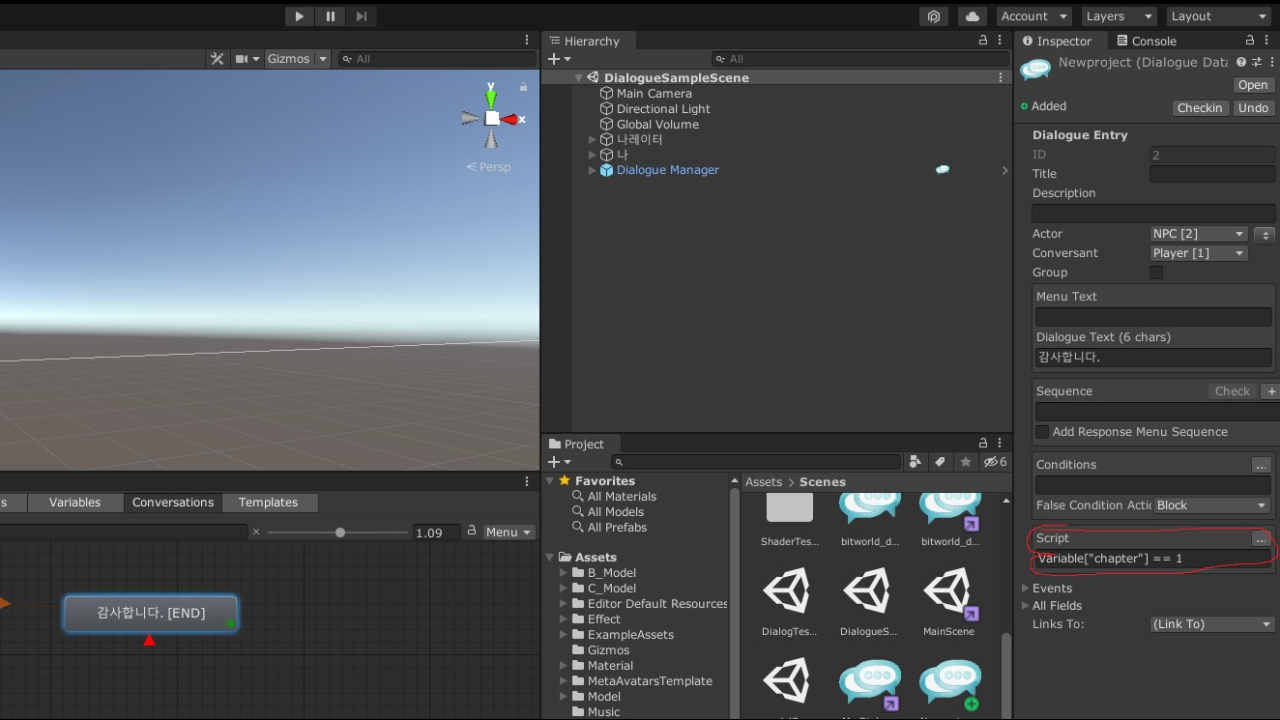
- node[END] 부분에서 다음 Node로 이동하기위해선
- script에서 Variable[“chapter”] == 1 기입
- 플레이 버튼을 눌러 테스트 해볼 것
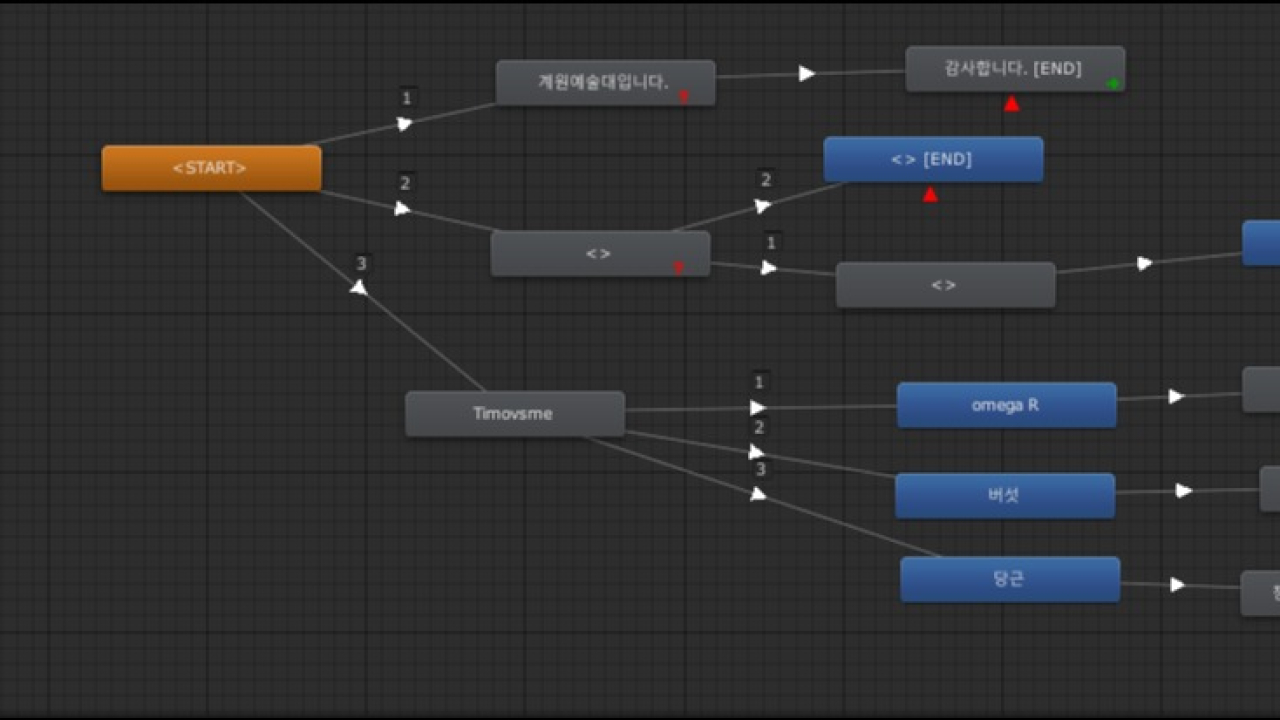
- Conversations를 제작하다 복잡하게 배치할때
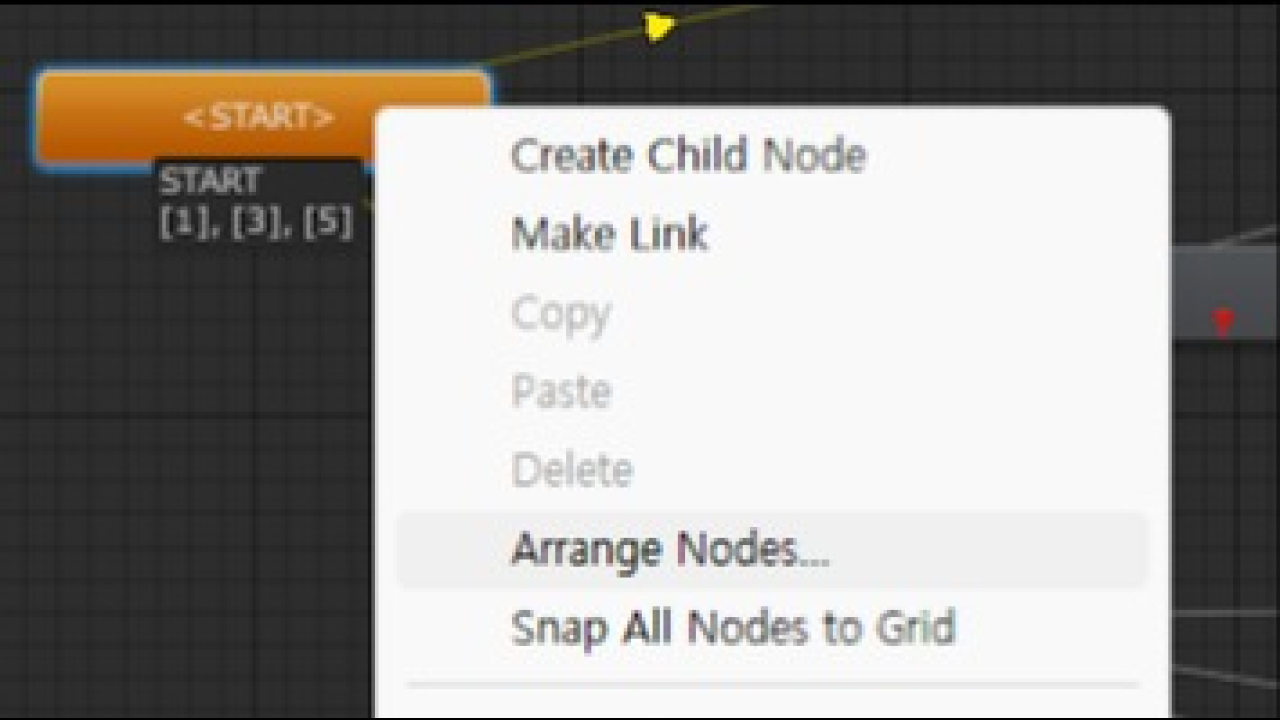
- < start>에오른쪽 마우스를 눌러 Arrange Nodes를 클릭
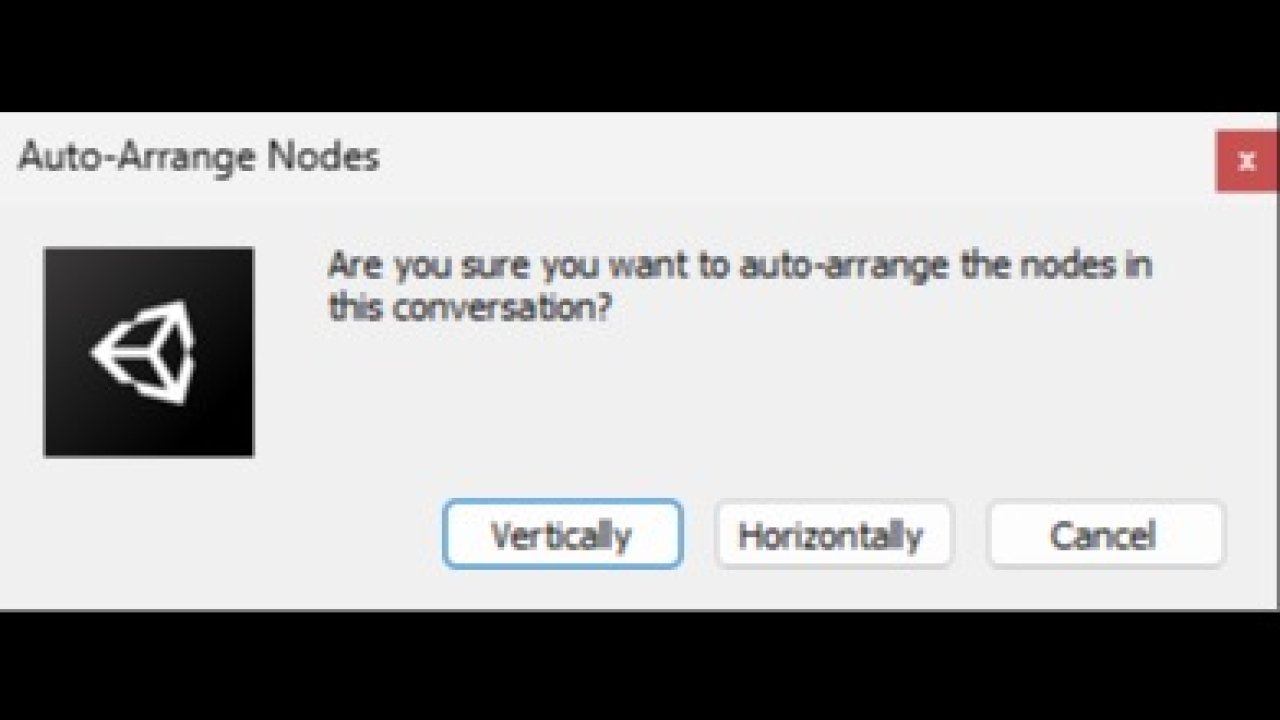
- Vertically(가운대 배치), Horizontally(좌쪽으로 배치)선택하여 클릭
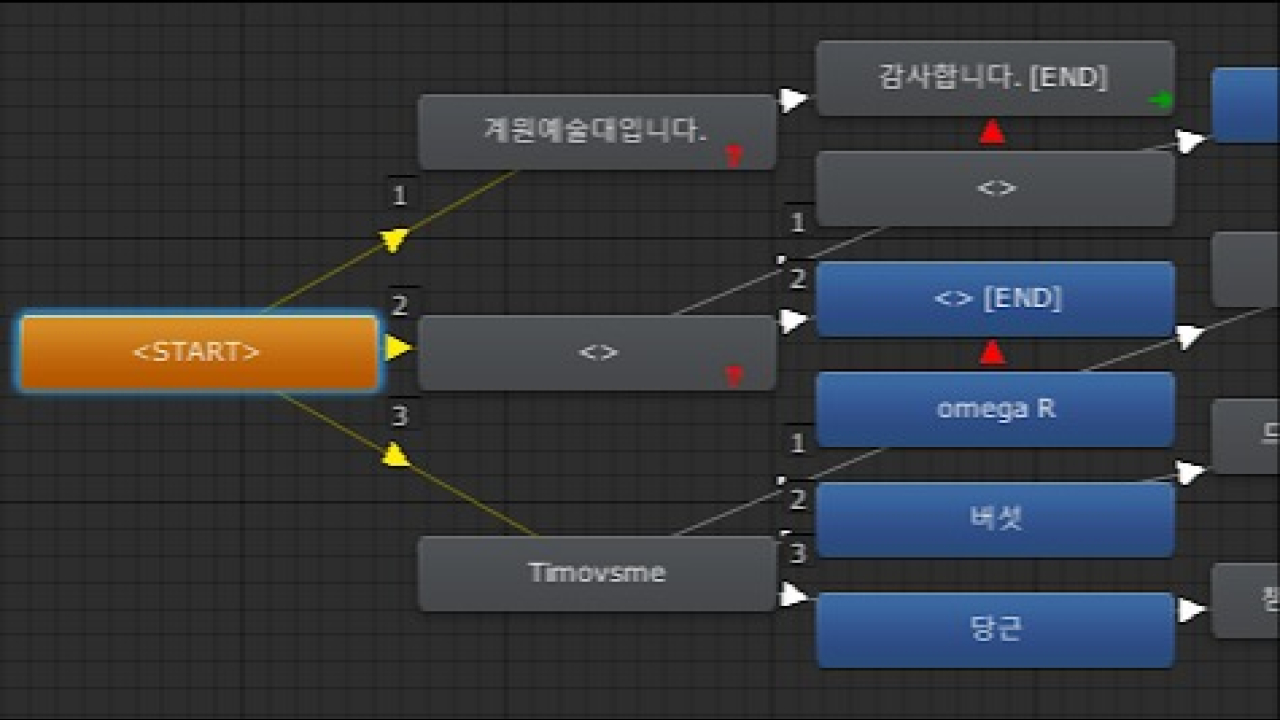
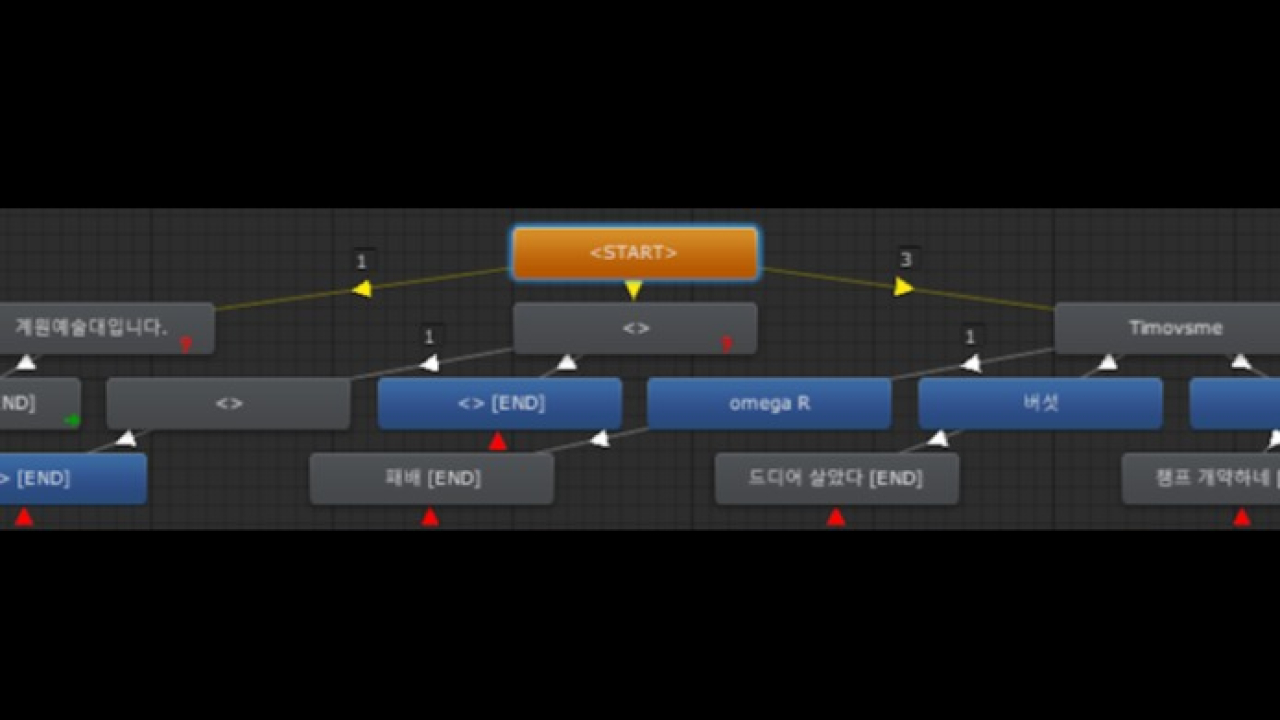 이런식으로 배치가 가능
